Once Human: Ultimate Guide to Defeating The Forsaken Giant - Phases, Attacks & Rewards
Conquer the Forsaken Giant in Once Human with expert strategies for targeting weak points and mastering challenging boss mechanics.
In the desolate and unforgiving world of Once Human, players who have braved the likes of the Ravenous Hunter and Shadow Hound will eventually set their sights on the formidable Monoliths. Housed within the Forsaken Monolith in the scorching Red Sands region lies one of the game's most punishing challenges: The Forsaken Giant. This level 60 Rift Entity is a massive leap in difficulty, requiring precise execution, strategic positioning, and a deep understanding of its complex move set. Accessing this boss isn't a simple task either; it demands players first activate a sufficient number of Rift Anchors scattered across the area, proving their mettle before the real test begins.
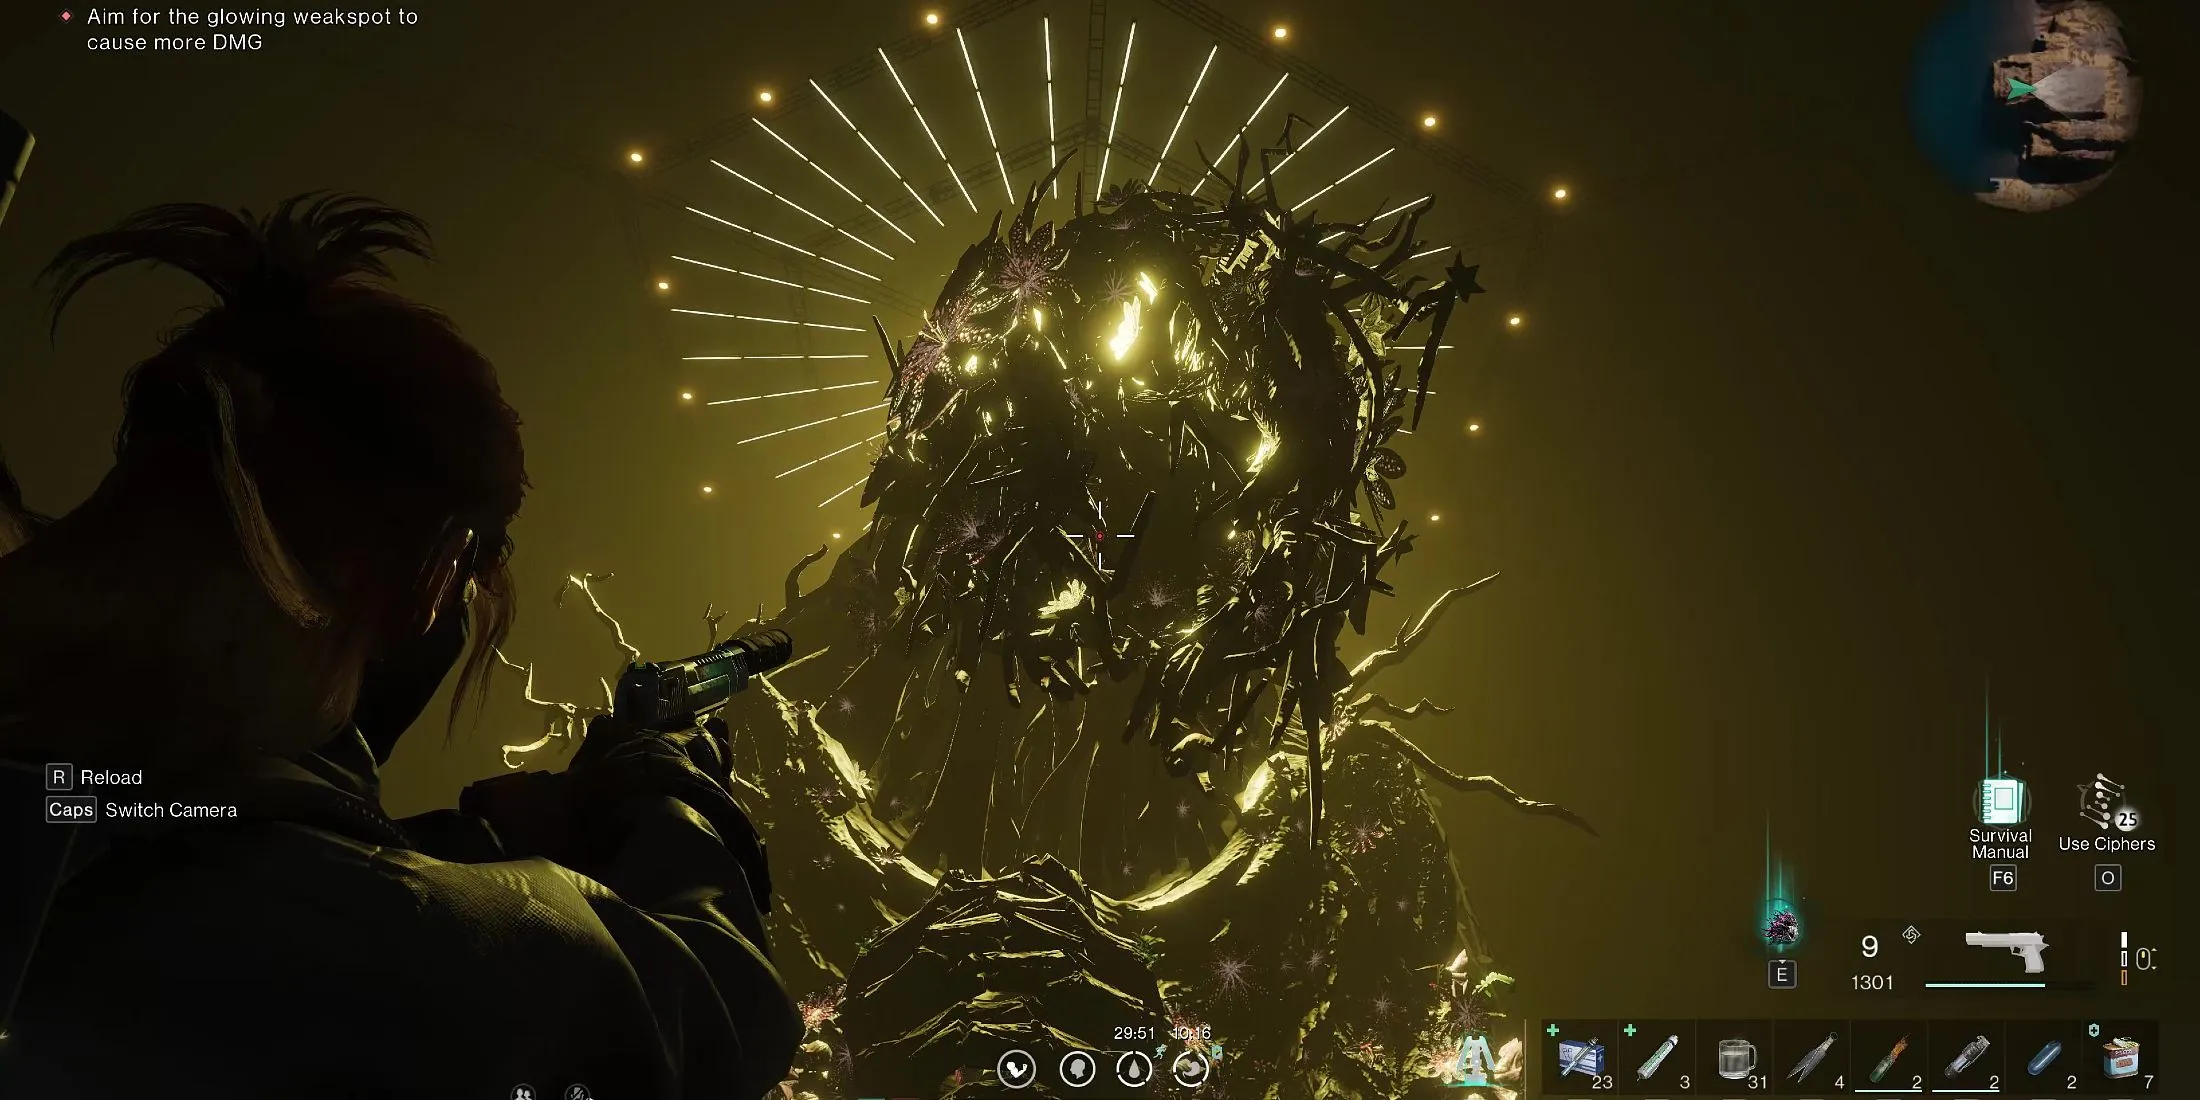
🔥 Phase 1: Learning the Rhythm
The initial confrontation with The Forsaken Giant sets the tone for the entire battle. The core mechanic here is targeting its glowing red weak points. While you can shoot any part of its massive body, damage is pitifully reduced unless you hit those brilliant crimson spots when they are exposed during its attack animations. It's a dance of aggression and evasion.
Here’s a breakdown of its Phase 1 attacks:
-
The Seismic Slam 👊: The Giant raises either its left or right fist high, preparing for a devastating slam. The tell? The corresponding shoulder weak point glows red! To avoid this, sprint in the opposite direction of the glowing shoulder, then jump over the ensuing shockwave. Your reward is a brief window to unload bullets into that now-exposed shoulder weak point.
-
The Arena Sweep 💨: Watch its hands! When one glows red, it's about to sweep that arm across the battlefield. The counterplay is swift: run to the far opposite side of the arena, using the flowers on the platforms for cover. As the arm sweeps past, you have a perfect chance to target the glowing hand for major damage.
-
The Tearful Opening 😭: This is less an attack and more a DPS (Damage Per Second) opportunity. The Giant's head glows red as it begins to cry, spawning both annoying Gnawers and crucial Handling Giant Flower Buds. While its hands covering its face can block shots, the Flower Buds are your key. Throwing them at the boss can stun it, forcing it to lower its guard and fully expose the head weak point for critical hits.
-
The Projectile Vomit 🤮: Similar to the cry attack, this move sees the weak point on its stomach glow red. The boss vomits projectiles, spawning more enemies and Flower Buds. Again, its arms shield the weak point, so use the Flower Buds to stun it, creating an opening to blast its stomach.
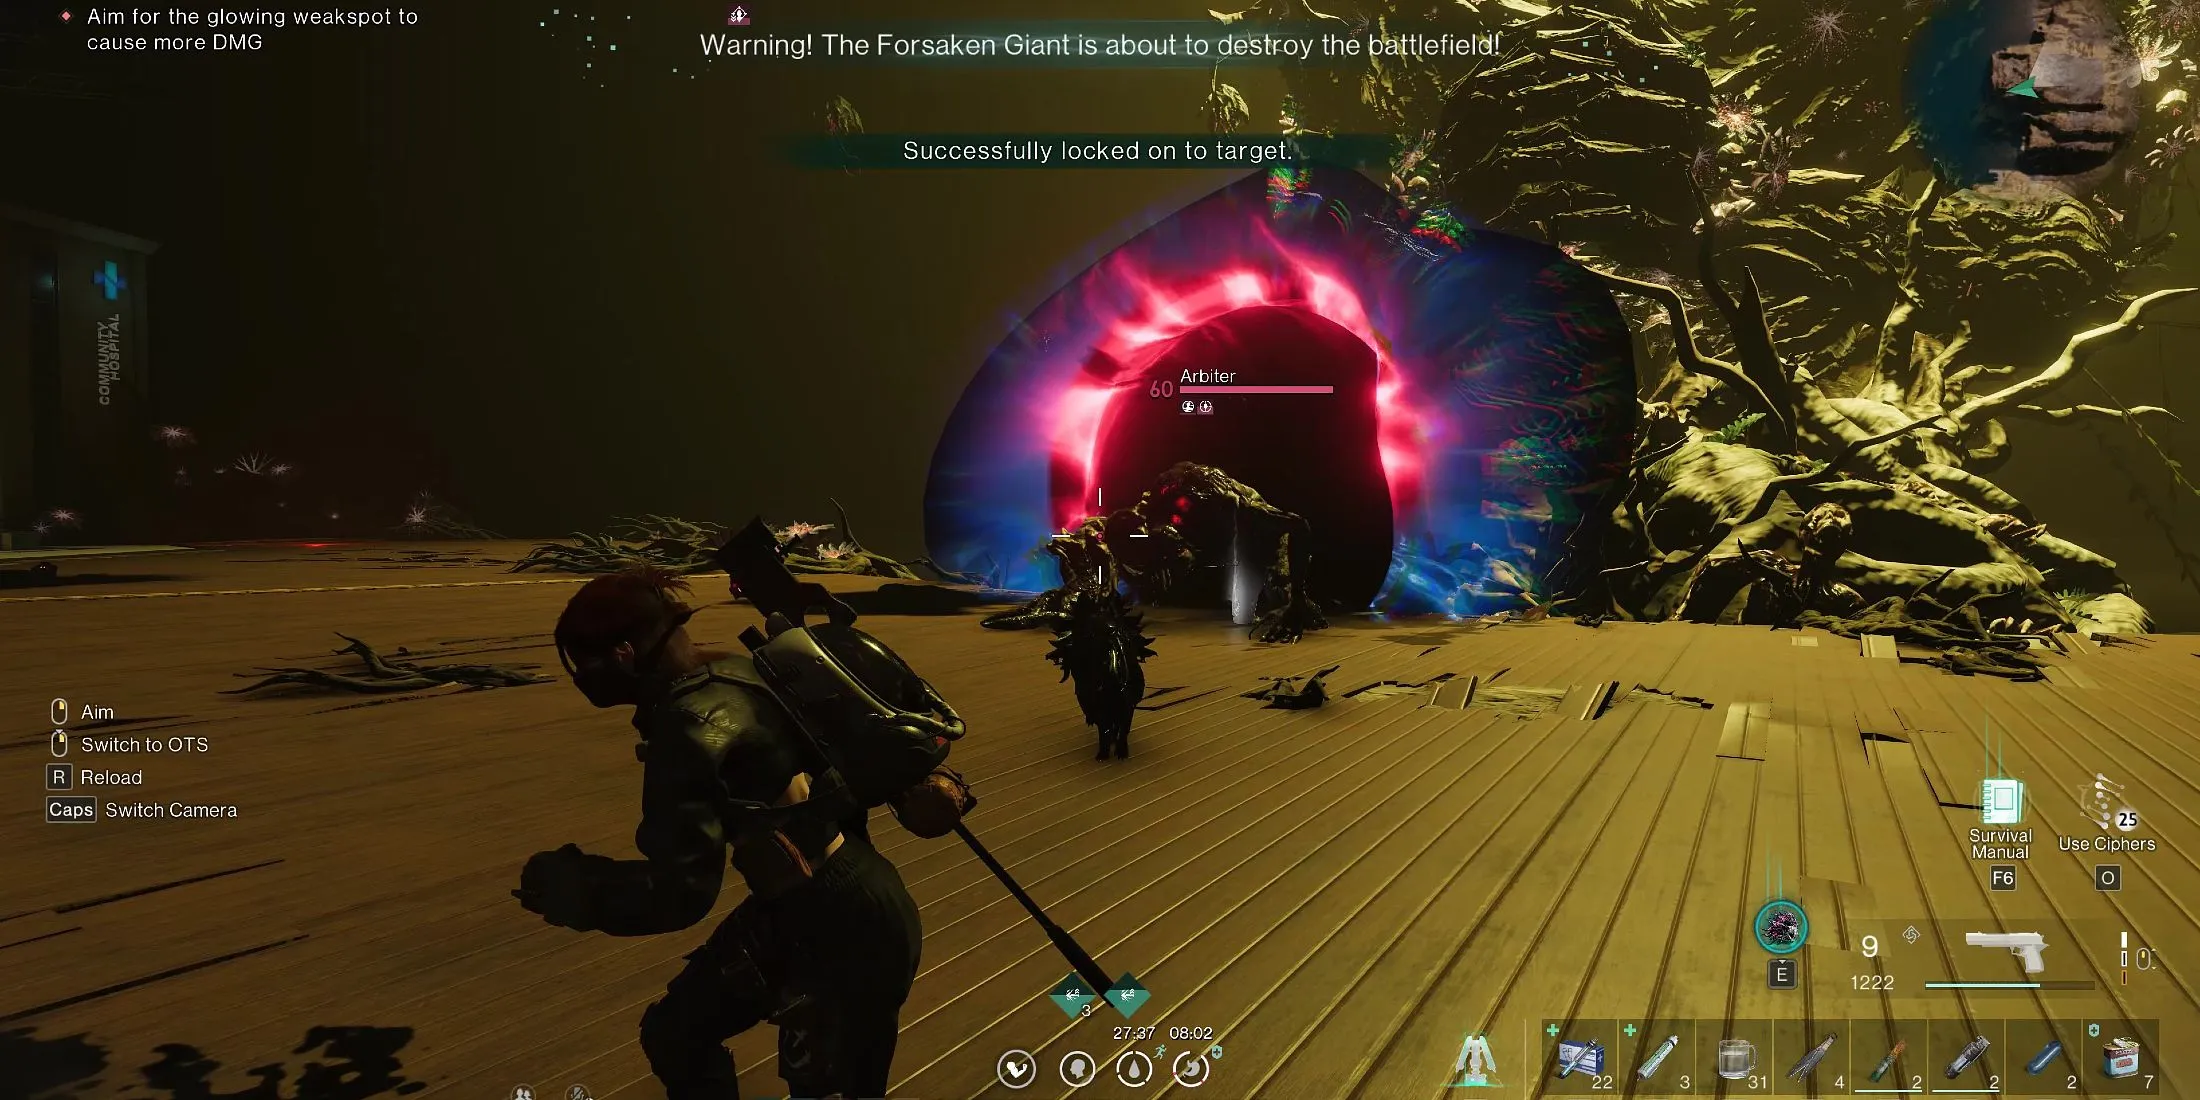
When you chip away about one-third of its health, the fight escalates. The boss summons an Arbiter, more Gnawers, and several Starspawn. This is where crowd control becomes vital. Summoning a Combat Deviation like the Lonewolf’s Whisper can distract these adds, letting you maintain focus on the Giant. Then, it tries to break the arena itself! It teleports away, and you start glowing red. The strategy? Stand on each of the three platforms and let the boss strike each one once. Each platform can only take two hits, so by spreading the three attacks across all three, you prevent any from breaking.
⚡ Phase 2: Increased Pressure & New Tricks
After the failed arena destruction, Phase 2 begins. It reuses most Phase 1 attacks but with the added chaos of the summoned enemies still lurking. The major new addition is a deadly combo attack.
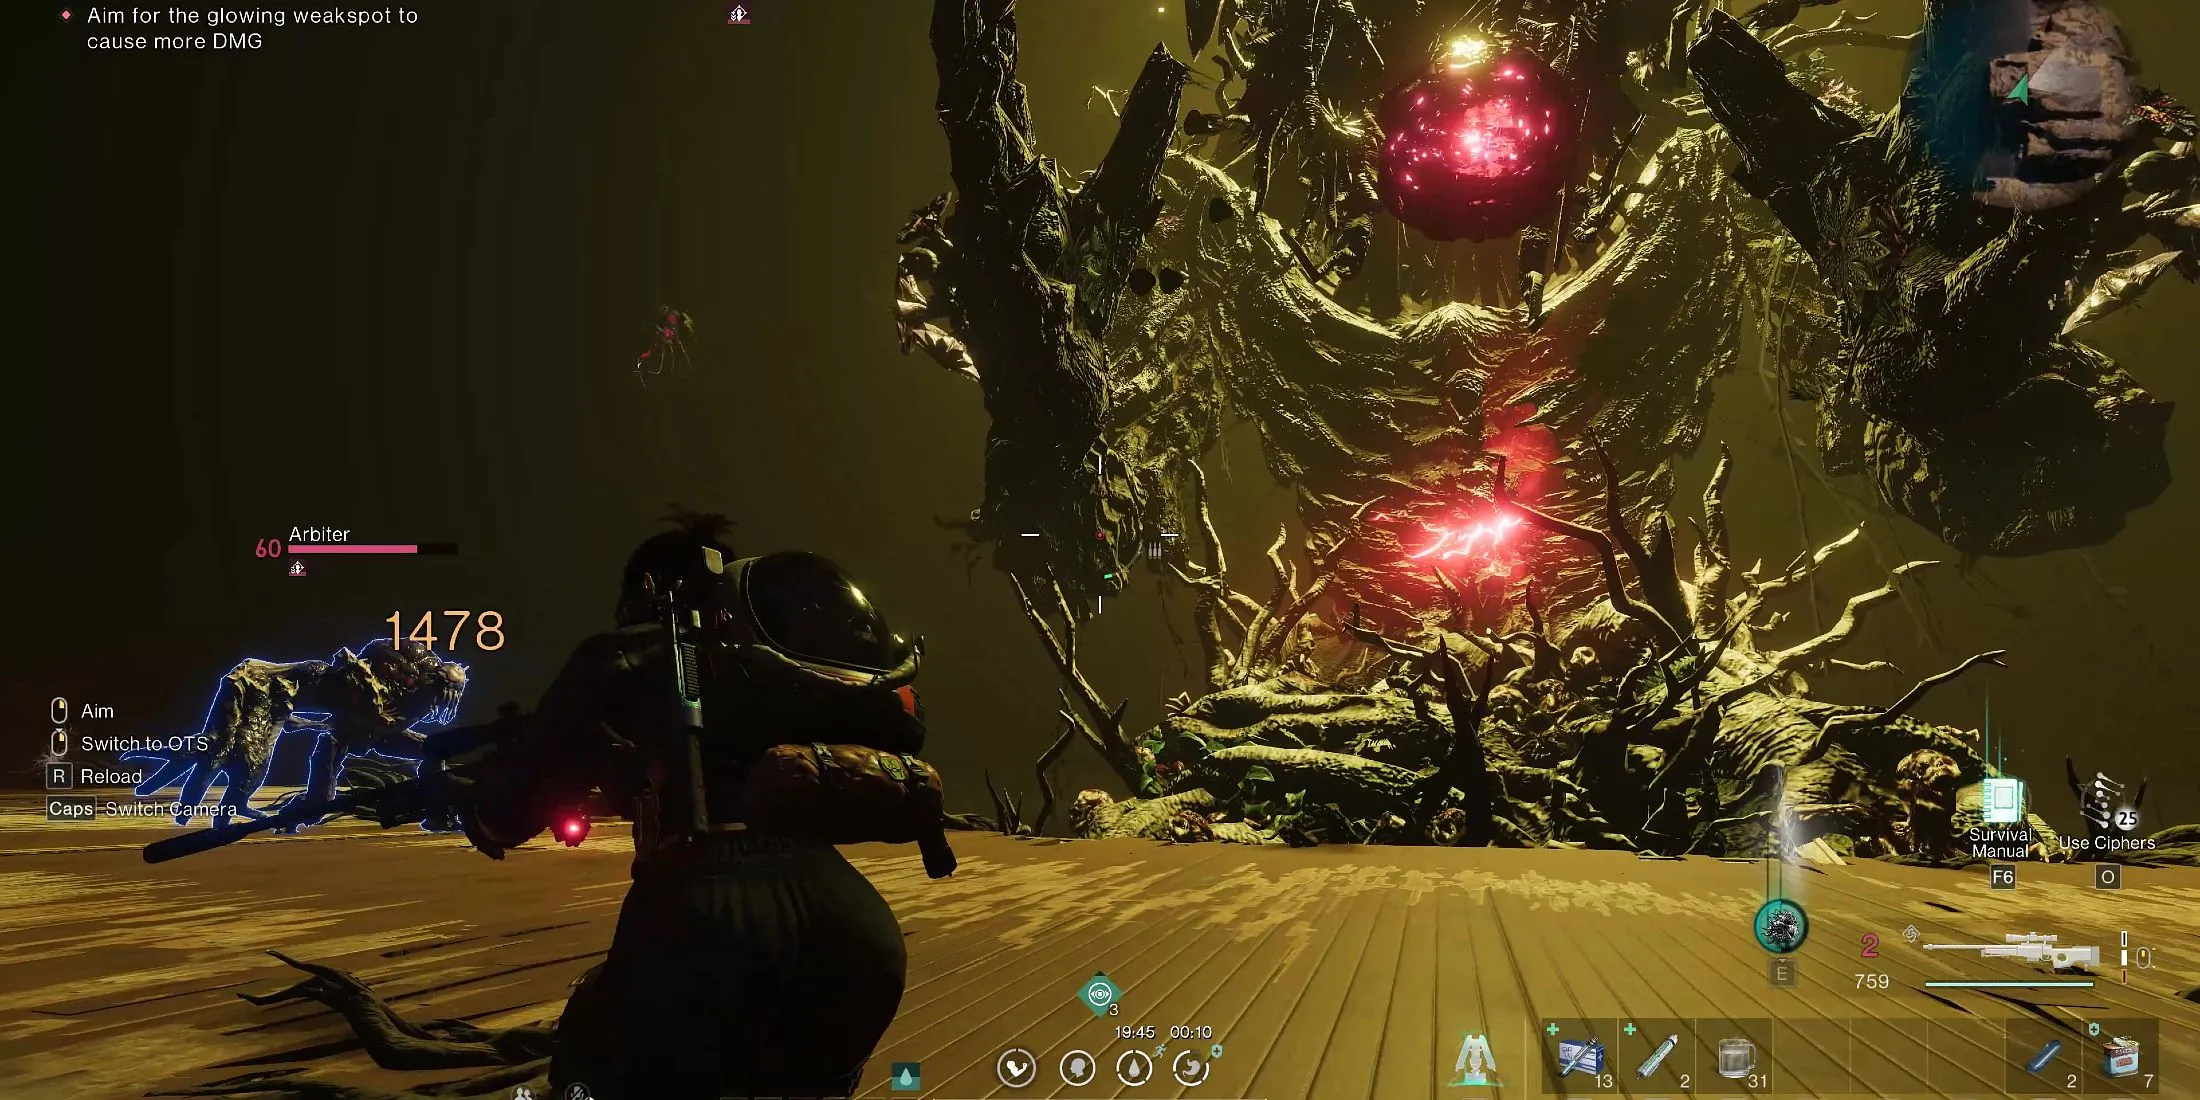
- The Homing Missile Barrage 🎯: The boss's chest weak point glows red. You'll need to dodge a series of homing projectiles from left and right. Don't run in a straight line! Move in a circular pattern to evade. Simultaneously, the boss charges a powerful explosive ranged attack. The moment you see it charging, quickly vacate your current position. Use the initial charge-up time to target its exposed chest for critical damage.
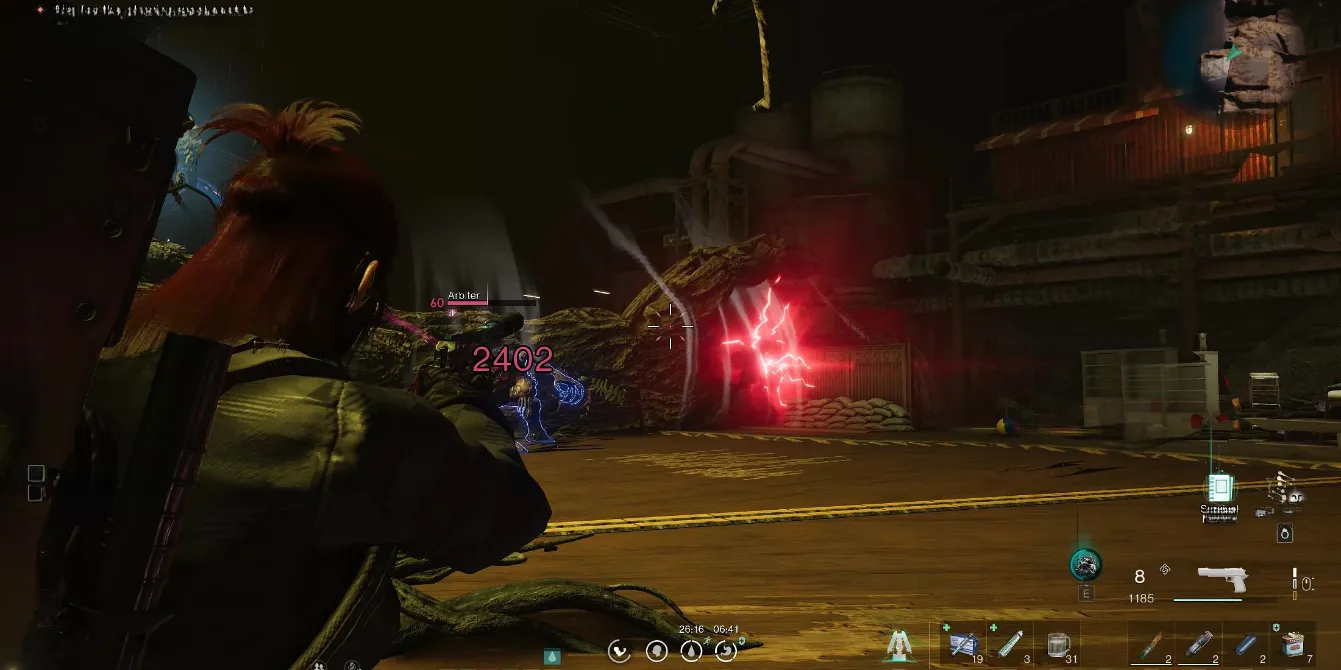
Once nearly two-thirds of its health is gone, it attempts the arena-destruction move a second time. The mechanics are identical: same enemies spawn, it teleports, and charges three slam attacks. Repeat the platform-rotation strategy—trick it into hitting each platform once—to keep your footing intact.
💀 Phase 3: The Final Onslaught
The last phase is a brutal endurance test. It carries over moves from previous phases but introduces two devastating Area of Effect (AoE) attacks.
-
The Self-Harm Geysers 🌋: The boss's head glows red as it starts hitting itself. Multiple red, geyser-like AoE zones erupt across the arena, dealing damage over time (DoT). Constant movement is non-negotiable. Weave between the zones while focusing fire on its head weak point.
-
The Platform-Clearing Sweep 🌀: The Giant looms over the platform. This is a pure survival move. Run towards the boss and stand at the very edge of the arena, as it will sweep both arms across the entire platform. There's no damage window here; just survive.
🎁 Legendary Rewards for the Victorious
Overcoming this titanic struggle is worth it. The spoils are some of the best in the game:
| Reward | Description |
|---|---|
 Nutcracker Deviation |
A powerful and rare Combat Deviation with unique abilities. |
| Tier V Weapon | Top-tier firepower to tackle even greater threats. |
| Tier V Weapon Mods | High-level modifications to optimize your new gear. |
 Stardust Source |
A crucial resource for high-end crafting and progression. |
| Electronic Parts |
Essential components for advanced technology and base building. |
| Energy Links | Vital for powering late-game equipment and facilities. |
| Eclipse Cortex Lv.3 | A significant upgrade for your character's core capabilities. |
💡 Pro Tip: Use a Controller when looting the boss's remains to maximize your gain and ensure you get all these fantastic items!
Defeating The Forsaken Giant is a true rite of passage in Once Human. It demands patience, precision, and adaptability. Master its phases, control the battlefield, and claim your legendary rewards. Good luck, Survivor—you'll need it. 😎🔥