A Guide to the Great Ones: Ranking and Conquering Once Human's Toughest Bosses
Mastering the formidable Great Ones, the colossal bosses of *Once Human*, demands strategic thinking and adaptability. From the tutorial-like Ravenous Hunter to the punishing Arachsiam, these ultimate challenges test players' endurance and puzzle-solving skills.
In the multifaceted world of Once Human, a game that blends survival horror, creature taming, and RPG storytelling, the ultimate challenges come in the form of colossal entities known as the Great Ones. As of 2026, these five formidable bosses stand as the pinnacle tests within the game's narrative arc, each guarding a monolith and presenting a unique puzzle of mechanics that players must decipher to prevail. From a tutorial-like introduction to a grueling final showdown, these encounters demand adaptability, patience, and strategic thinking.
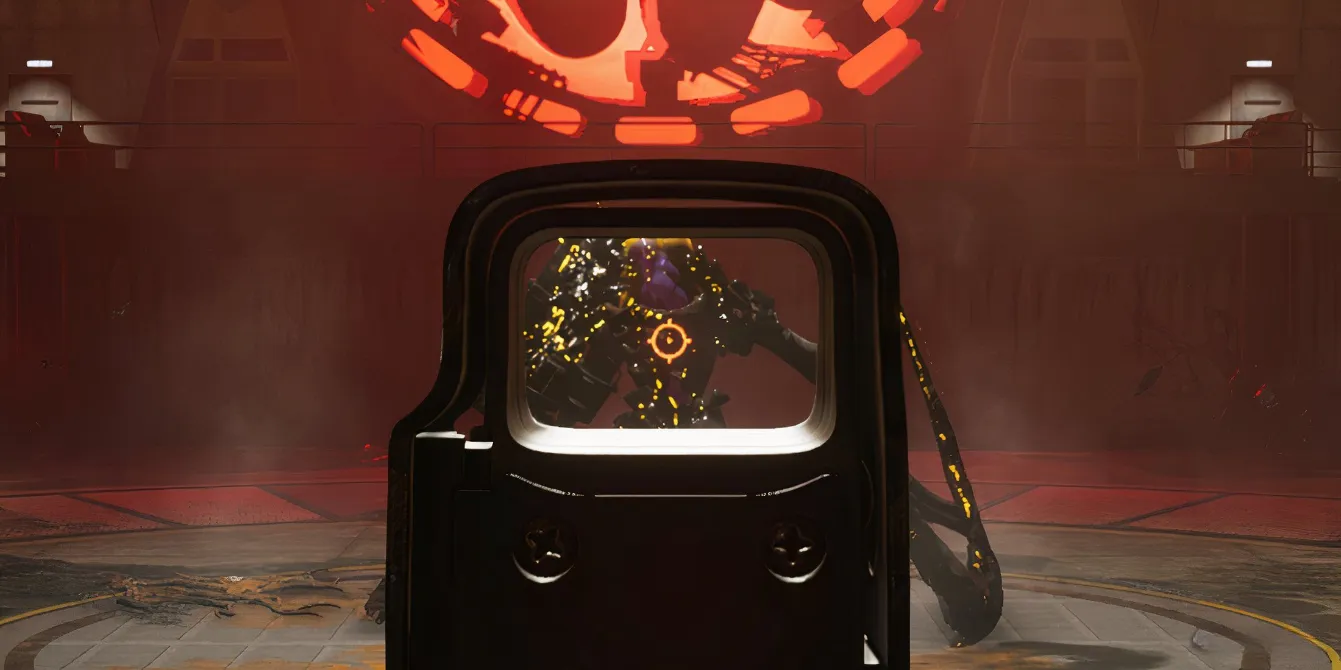
The journey begins with the Ravenous Hunter, serving as the introductory lesson to the game's boss design philosophy. This encounter establishes a core pattern: phases of vulnerability punctuated by immunity phases that require specific environmental interactions. The fight initiates straightforwardly, but after sustaining initial damage, the Hunter teleports to a raised platform, becoming invulnerable. The key is to eliminate all the spawn pods that appear on the main floor, which continuously generate lesser enemies. Clearing these threats forces the Hunter back to the center, restarting the damage phase. This cycle repeats until victory. A savvy tip for resource conservation is to utilize the heavy minigun the boss drops during the fray, offering a powerful, ammo-free alternative to whittle down its health.
In stark contrast to the Hunter's structured phases, the Treant offers what many consider the most straightforward battle among the Great Ones. Its mechanics are refreshingly simple: avoid large, slow-moving projectiles and manage the periodic spawns of standard enemies. The fight emphasizes constant movement and threat prioritization. Players must clear the adds before they become overwhelming, creating safe windows to focus fire on the Treant itself. While not mechanically complex, this battle tests endurance and situational awareness, proving that a methodical, patient approach is the safest path to success, even if it takes a bit longer.
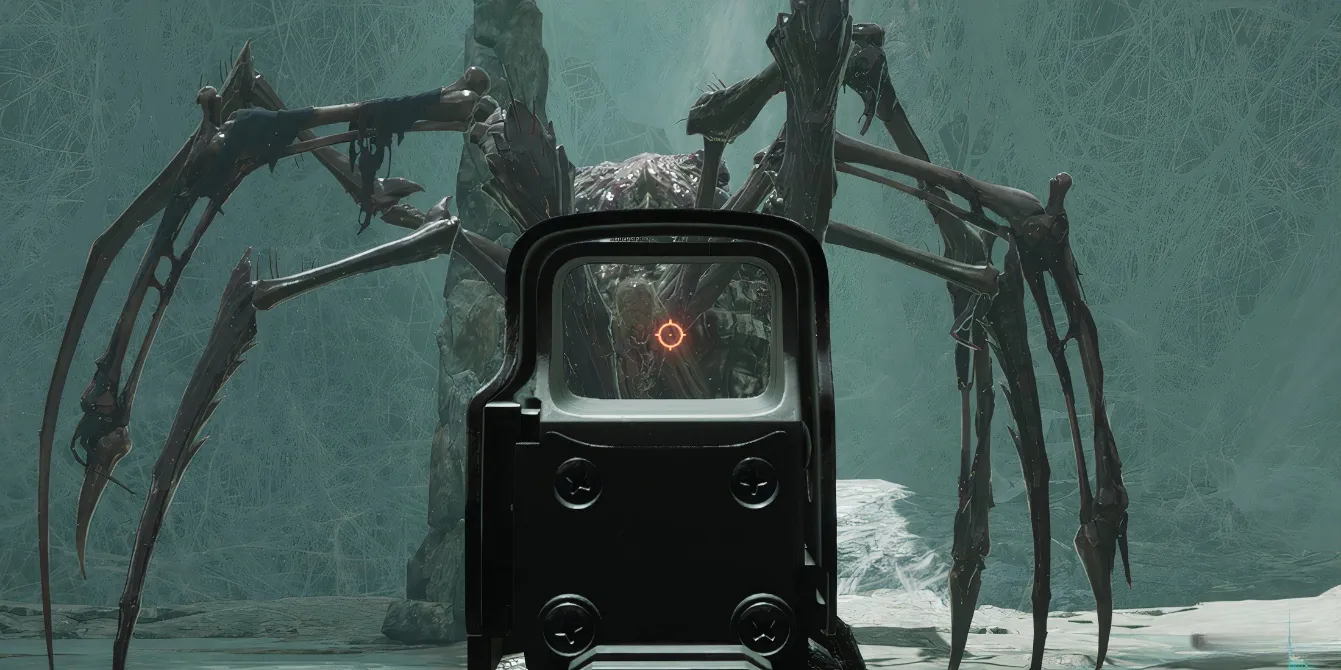
The difficulty ramps up significantly with Arachsiam, the giant spider. This encounter introduces a punishing environmental hazard: a thick, vision-obscuring mist. Upon taking initial damage, Arachsiam summons this fog and retreats to a high pillar, becoming immune. Spider eggs spawn at the map's edges, and destroying them is the only way to clear the mist and make the boss vulnerable again. The catch? These eggs hatch swarms of small spiders that can easily overwhelm an unprepared survivor. Success requires quick target switching and area control. A well-timed shot as the mist clears can knock Arachsiam off its perch, stunning it for precious seconds of free damage. This fight transitions from genuinely tough at appropriate levels to more of a tedious chore for over-geared players, but the core mechanic remains a defining challenge.
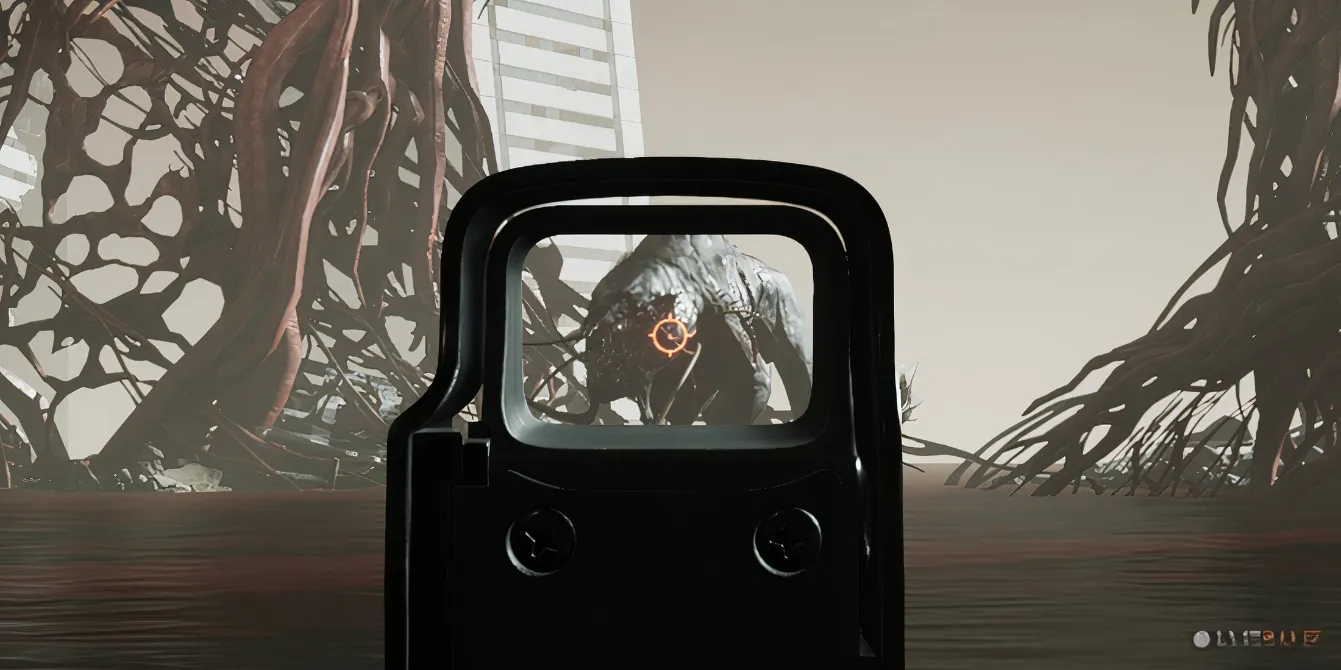
Many veterans argue that Rabizex, the monstrous hound, presents the steepest learning curve and highest danger for a first-time encounter. Its multi-layered mechanic is a brutal test of precision and mobility. After an initial damage phase, Rabizex shields itself, with only two glowing weak points on its shoulders remaining vulnerable. Players must accurately destroy these while dodging attacks from floating orbs that the boss spawns. The climax of this phase sees Rabizex transform into a giant, spinning energy ball. Failing to hit the orb's weak spot in time results in a catastrophic area-of-effect explosion. This sequence of targeting weak points, managing adds, and preventing the mega-explosion repeats, demanding constant movement, healing, and pinpoint accuracy. Even with top-tier gear, Rabizex remains a formidable and thrilling adversary.
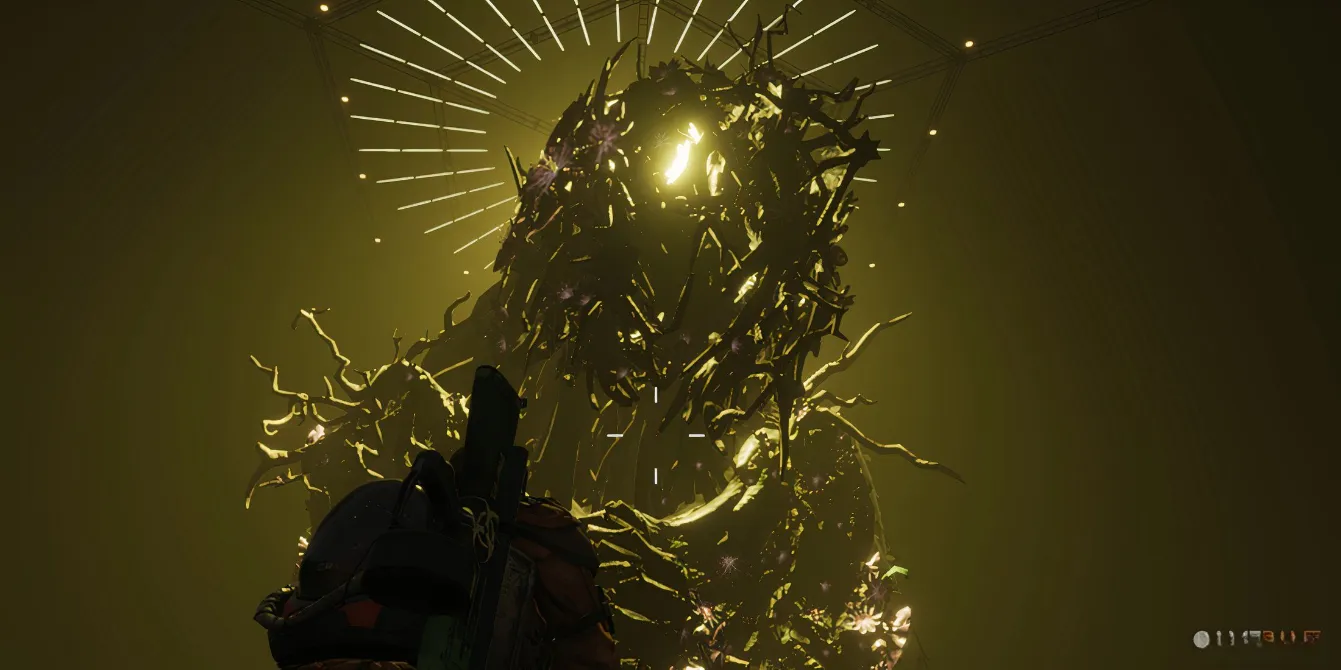
The culmination of the Great Ones saga is Mensdevoran, a battle of endurance designed for cooperative play. While its attacks are not the most damaging, its immense health pool turns the fight into a marathon. The core mechanic involves a single, moving weak point that cycles between its chest, head, and hands. Players must constantly reposition to maintain line-of-sight on this shifting target, leading to a lot of back-and-forth sprinting across the arena. Mensdevoran's wide, sweeping arm attacks demand well-timed jumps or evasive rolls to avoid significant damage. Solo play is technically possible but is an exercise in tedium, requiring thousands of rounds of ammunition and likely wearing out your primary weapon. Bringing a team not only makes the encounter more manageable but also far more engaging, as coordinating fire on the moving weak point and reviving fallen comrades becomes part of the strategic dance. This drawn-out finale truly emphasizes the communal spirit of Once Human's endgame.
| Boss | Key Mechanic | Difficulty (Solo) | Recommended Approach |
|---|---|---|---|
| Ravenous Hunter | Destroy spawn pods to break immunity. | Low (Tutorial) | Use dropped minigun, clear adds quickly. |
| Treant | Dodge projectiles, manage random spawns. | Low | Kite, prioritize adds, be patient. |
| Arachsiam | Destroy eggs in fog to reveal boss. | Medium-High | Control spider swarms, aim for stun. |
| Rabizex | Hit shoulder weak points, stop orb explosion. | High | Stay mobile, heal often, precision shots. |
| Mensdevoran | Track a single moving weak point. | Very High (Group Recommended) | Bring friends, coordinate fire, dodge swipes. |
In summary, the Great Ones of Once Human offer a graduated curriculum in survival combat. They teach players to: 👁️ Observe mechanics, 🎯 Target specific weaknesses, 🏃 Move constantly, and 🤝 Cooperate for the toughest challenges. Mastering these lessons is the key to conquering the monoliths and surviving the game's most terrifying encounters.